The Rescue at Bundil II signifies a triumphant mission undertaken by the Rebel forces, successfully liberating Prisoners of War who were captured during the intense Battle of Hoth.
Information obtained by Alliance Intelligence indicated that a number of Rebel Alliance members who had been stationed at Echo Base were being held as prisoners aboard the Imperial Dreadnaught designated VTR-LX. This prison vessel was in the process of refueling at the Calast station, a well-known civilian vacation spot. Admiral Nammo recognized this as an ideal opportunity to neutralize the Dreadnaught and secure the freedom of their captured personnel.
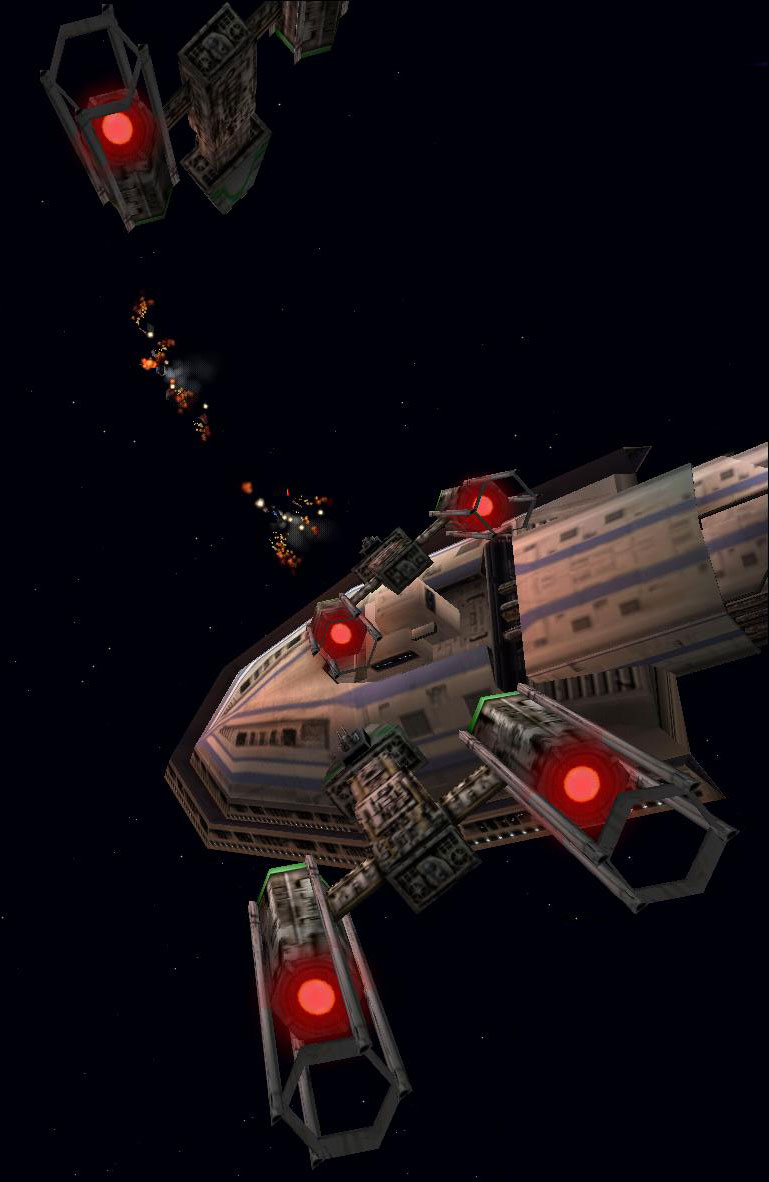
The Rebel strike team commenced their mission, departing from the vessel known as the Defiance and engaging its hyperspace drive to reach Calast. The VTR-LX was being protected by a squadron of Assault Gunboats, which promptly moved to confront the Rebel attackers. X-wing group Red provided essential cover while Y-wing group Green focused their attacks directly on the VTR-LX.
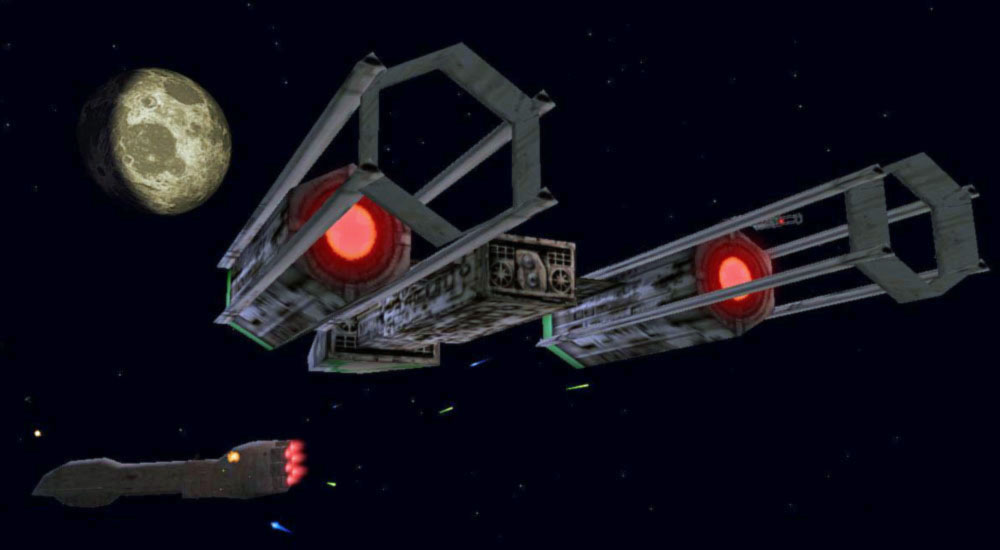
The local space surrounding Calast was heavily populated with civilian vessels, which made aerial combat operations more complex. The Gunboats managed to delay the Rebel attack long enough for the prison ship, along with its two accompanying Escort Shuttles, to escape into hyperspace. After eliminating the Gunboats, the Rebel forces analyzed the hyperspace trajectory of the VTR-LX and determined that its destination could only be the Bundil II platform, located nearby.
The Imperial forces clearly did not anticipate the Rebel starfighters to pursue the VTR-LX any further and were completely unprepared for an assault on Bundil II itself. As soon as the Rebel starfighters emerged from hyperspace near Bundil II, they immediately attacked the two Escort Shuttles, identified as Griphon and Manticore, and successfully destroyed both of them.
While the platform was hastily deploying its fighters and sending out distress signals, Y-wing group Green advanced on the now-vulnerable prison ship and successfully disabled it. This action served as the signal for the arrival of Storm Unit's Assault Transport, which entered hyperspace, docked with the Dreadnaught's upper airlock, and initiated boarding operations.
The starfighter garrison stationed at Bundil II – consisting of a mix of TIE Fighters, Interceptors, and Bombers – attempted to defend the platform and the prison ship. However, their staggered launch pattern made them easy targets for interception. Ace Azzameen and other X-wing pilots from Red group engaged and eliminated the majority of the Imperial fighters. The few Bombers that managed to launch torpedo attacks against Storm Unit caused minimal damage before being destroyed by the Assault Transport's defensive turrets.
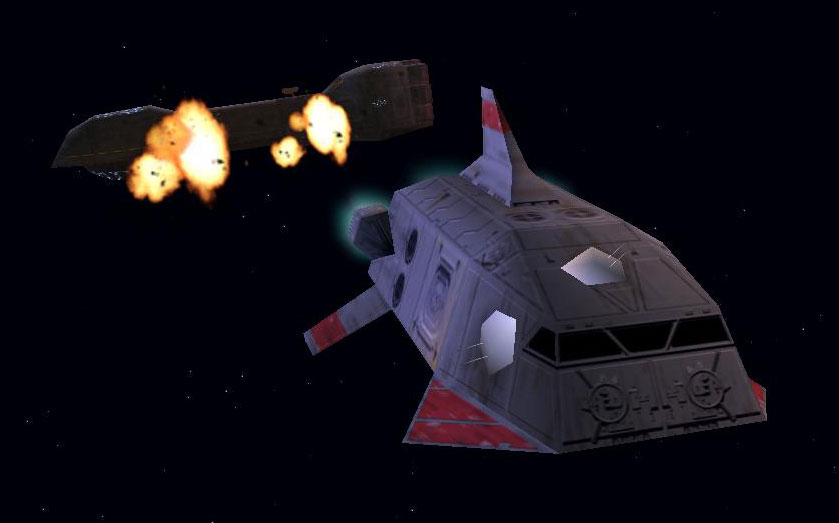
Storm Unit concluded their boarding operation and headed towards their designated hyperspace jump point. They informed their allies that the prisoners had been successfully rescued and that they had left "a little present" for the Imperials aboard the Dreadnaught – a powerful explosive device. In a moment that must have been incredibly satisfying for the POWs, Storm Unit detonated the explosive, resulting in the complete destruction of the VTR-LX in a massive explosion.
The Imperial frigate Archon, which had been dispatched in response to Bundil II's distress call, finally arrived at the scene. However, it was too late and too far away to prevent the Rebels from safely escaping into hyperspace.
Among the prisoners who were freed was Commander Kupalo, a highly regarded tactical officer who was well-respected within the Rebel High Command.
Despite the success of the rescue mission, this operation would have significant repercussions for the Alliance in the months that followed. Commander Kupalo, one of the Echo Base personnel who was rescued, had previously served aboard the Defiance for two years and was welcomed back into active duty. However, during his captivity, Kupalo had been secretly brainwashed by the Empire and turned into a double agent. When Imperial Commander Zaletta defected to the Alliance several months later, bringing with him top-secret data about the Death Star II, Kupalo betrayed the Alliance and attempted to assassinate Zaletta and the Alliance forces who were escorting him. Fortunately, he was stopped by fellow pilots Ace Azzameen and Olin Garn from the Mon Calamari Star Cruiser Liberty, who served under Kupalo's command. After his capture, Kupalo underwent extensive rehabilitation, and Zaletta assumed command of the Liberty's pilots.